
 Installing an optical line terminal (OLT) is a key step in setting up a passive optical network (PON). The OLT acts as the central hub, connecting multiple customer endpoints through fiber optic cabling. Proper OLT configuration and installation ensures reliable, high-speed service across the network. Here is an overview of best practices for installing an OLT:
Determine where the OLT will be situated, considering factors like security, access, power supply, and environmental controls. The OLT chassis should be installed in a clean, climate-controlled space with proper ventilation. This maintains the optimal operating temperature for OLT hardware.
Mount the OLT device into a standard 19-inch equipment rack. Make sure there is adequate space in the rack to accommodate the OLT chassis, fiber optic patch panels, copper cabling, and power accessories. Use high-quality rack screws to firmly secure the rack to the floor and wall. Install horizontal and vertical cable managers to route cabling and fiber.
The OLT requires a stable AC power supply, usually 100-240V. Connect the OLT to an uninterruptible power source (UPS) as well to prevent downtime. Use a power distribution unit (PDU) to connect the OLT and other devices to electrical outlets on the rack. Properly ground the rack and all equipment for electrical safety.
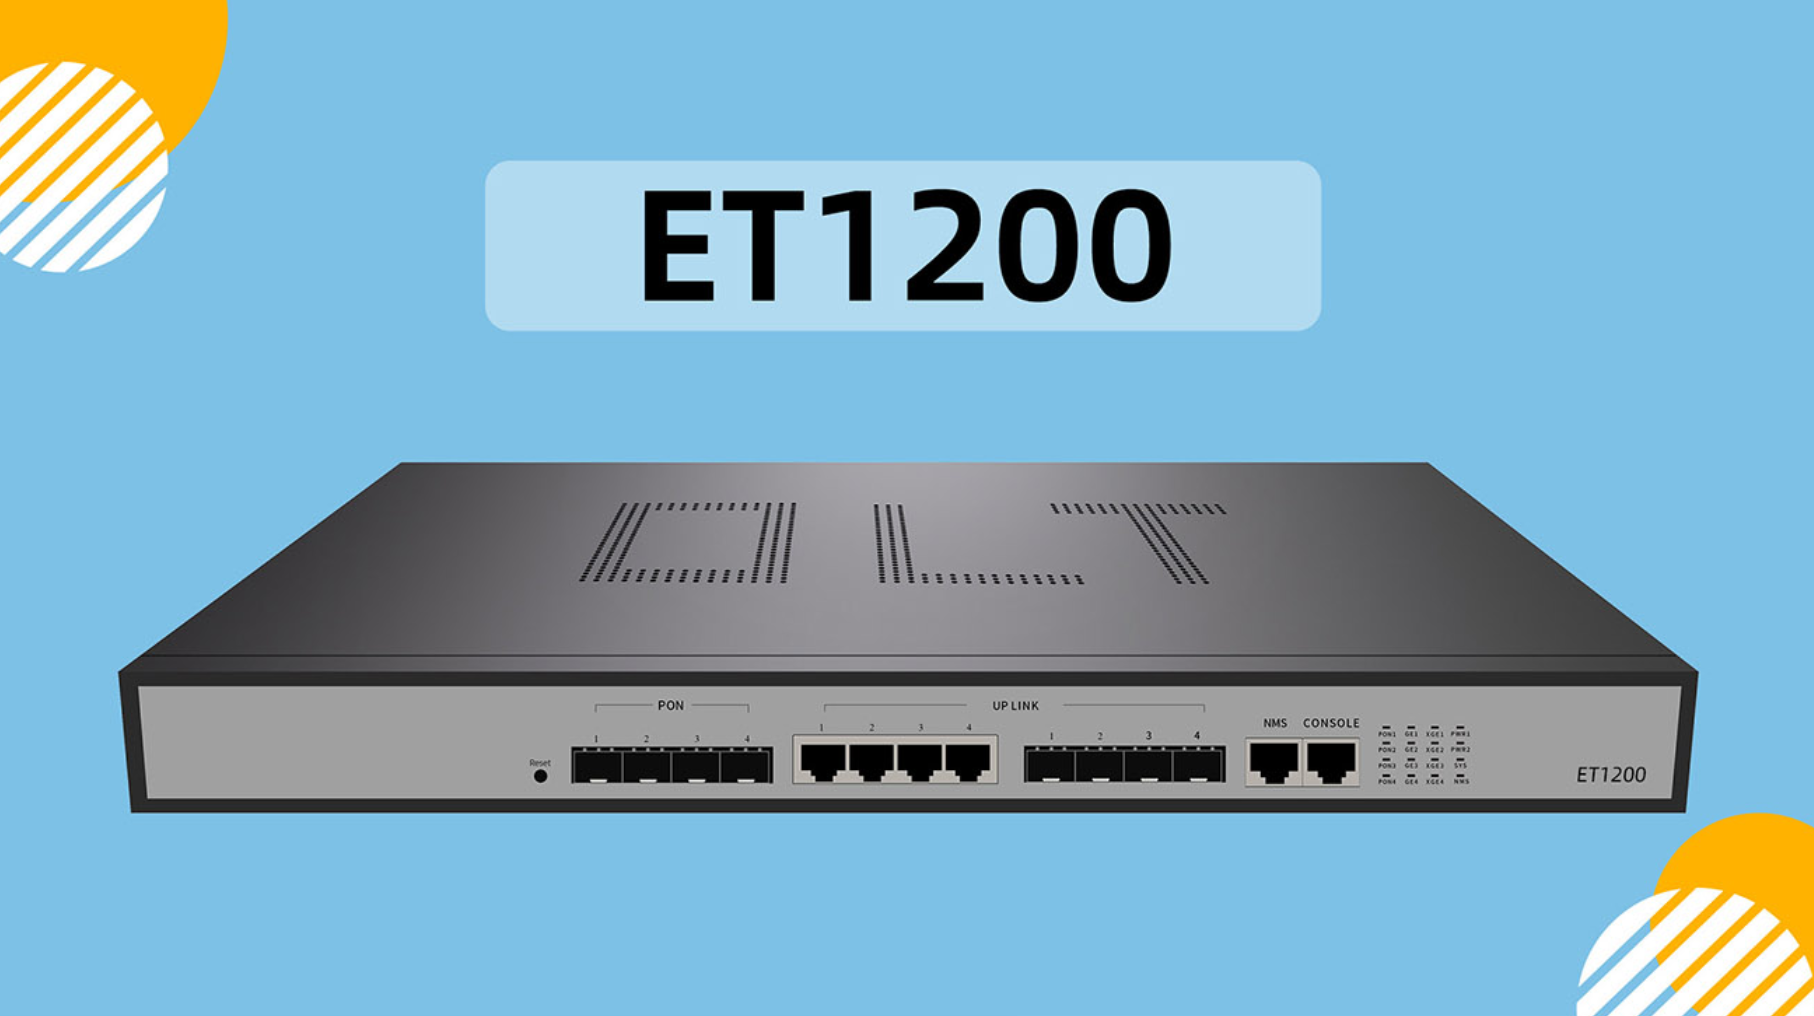
OLT ports interface with the fiber optic network through cabling. Install any necessary fiber patch panels to land and manage the fiber cable connections. Use compatible LC or SC fiber connectors to link cables with the OLT's SFP ports. Neatly route cables through vertical managers to avoid clutter.
Securely attach the OLT chassis to the rack using manufacturer-recommended mounting brackets. Ensure adequate clearance on all sides for ventilation and access. Connect the OLT's power cords and network cables (e.g. Ethernet for management). Verify the device powers on and all interfaces are functioning.
Use the OLT's administrative console or browser interface to configure initial settings like IP addressing, VLANs, and security credentials. Define network services and any desired traffic shaping policies that align with bandwidth capabilities. Activate and test OLT ports to validate proper operation.
The OLT communicates with optical network terminals (ONTs) at customer premises to deliver services over fiber. Connect ONTs to OLT ports using pre-terminated fiber cables. Manage ONT assignments, authentication, and service provisioning through the OLT management interface to align with account subscriptions.
Validate full OLT functionality by running diagnostic tests to check performance metrics like optical power levels, bit error rates, latency, etc. Verify network connectivity by pinging device interfaces and testing bandwidth speeds. Check event logs or alarms for any signs of issues. Thoroughly testing the OLT is crucial for identifying potential problems.
With its powerful features for PON management and fiber-to-the-premises service delivery, installing an OLT is worthwhile for network providers. Properly integrating the OLT device into the cabling infrastructure ensures smooth network operations. Following best practices for location planning, equipment mounting, cabling, power redundancy, and thorough testing enables a successful OLT deployment.